Ledger® Live: Login | Getting Started
Cryptocurrency management has evolved rapidly over the past decade, making security and user experience paramount. Ledger Live® is Ledger's flagship application that empowers users to securely manage their crypto assets with unparalleled ease. Whether you are a novice just beginning your crypto journey or a seasoned trader looking for robust security, Ledger Live offers a comprehensive platform to manage, track, and grow your portfolio safely.
What is Ledger Live?
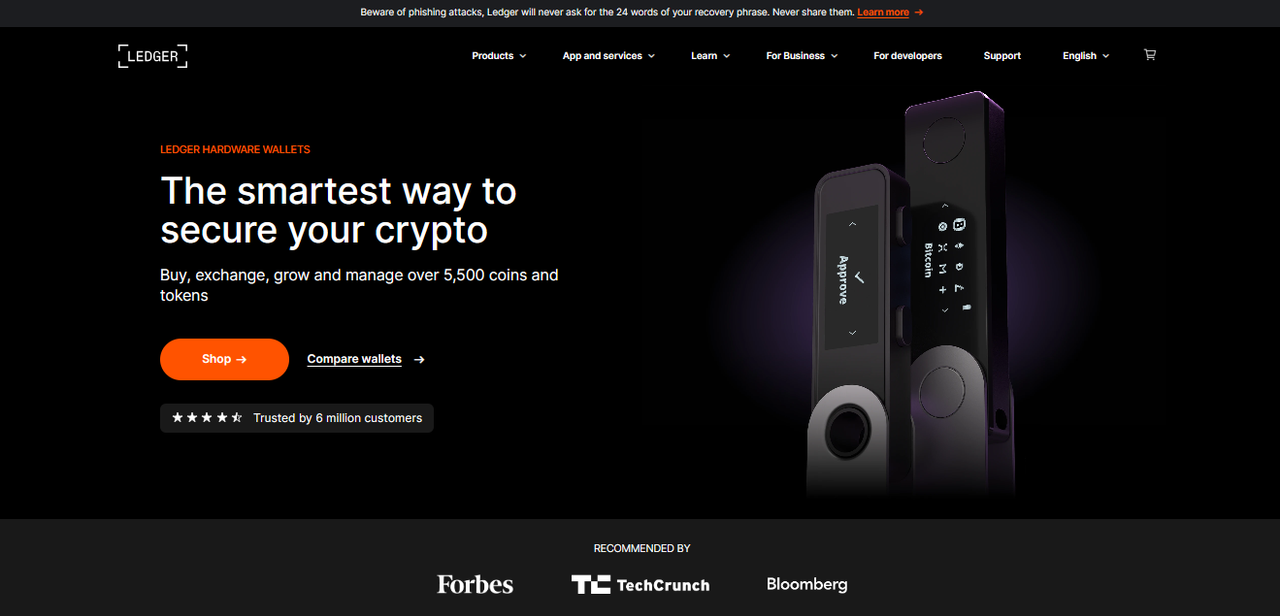
Ledger Live is a desktop and mobile application designed to work hand-in-hand with Ledger’s hardware wallets such as the Ledger Nano S, Nano S Plus, and Nano X. It acts as a secure interface that allows you to:
- Check your crypto portfolio in real-time
- Send and receive cryptocurrencies safely
- Buy, swap, and stake supported digital assets
- Interact with decentralized finance (DeFi) applications
- Manage multiple accounts and cryptocurrencies simultaneously
Why Choose Ledger Live?
When it comes to crypto security, protecting your private keys is crucial. Ledger Live is designed with this priority:
- Private Keys Never Leave Your Hardware Device: Your keys remain offline in your Ledger wallet, drastically reducing hacking risks.
- User-Friendly Interface: Intuitive design makes crypto management accessible even for beginners.
- Wide Compatibility: Supports over 5,500 cryptocurrencies including Bitcoin, Ethereum, Solana, Polkadot, and many more.
- Regular Updates: Ledger continually improves security features and compatibility through app and firmware updates.
- Cross-Platform: Available for Windows, macOS, Linux, Android, and iOS.
How Does Ledger Live Login Work?
Unlike traditional apps that rely on username-password combinations, Ledger Live’s login is deeply tied to the hardware wallet. This means there is no conventional “password” login. Instead, your Ledger device acts as the gatekeeper:
- Connect Your Ledger Device: Use USB or Bluetooth (Nano X) to connect your device to the Ledger Live app.
- Unlock Your Device: Enter your PIN on the hardware wallet itself. This local verification is vital for security.
- Authenticate Transactions: Ledger Live fetches your public addresses from the device, showing balances and transaction history without exposing private keys.
This method ensures that even if your computer or phone is compromised, hackers cannot access your funds without physical access to your Ledger wallet.
Getting Started: Step-by-Step Guide to Setting Up Ledger Live
Step 1: Download and Install Ledger Live
Visit the official Ledger website at https://www.ledger.com/ledger-live and download the app compatible with your device’s operating system. Avoid downloading Ledger Live from third-party sources to prevent phishing attacks.
Step 2: Connect Your Ledger Hardware Wallet
Plug your Ledger device into your computer or pair it with your mobile device (Bluetooth only for Nano X). Ensure your device is charged and powered on.
Step 3: Open Ledger Live and Choose Your Setup Option
- Initialize as a New Device: If your Ledger is brand new, create a new wallet and generate your recovery phrase.
- Restore a Wallet: If you have an existing 24-word recovery phrase from a previous wallet, restore your accounts on this device.
Step 4: Create a Secure PIN
Follow on-device prompts to set a 4 to 8-digit PIN. This PIN protects your device from unauthorized access if lost or stolen.
Step 5: Safely Record Your Recovery Phrase
This is the most critical step. Ledger will display a 24-word recovery phrase on the device screen. Write this down on the provided recovery sheet and store it securely offline. Never photograph, store digitally, or share this phrase online.
Step 6: Install Apps for Supported Cryptocurrencies
Ledger Live features a “Manager” tab where you can install individual apps for each cryptocurrency you want to manage. For example, install the Bitcoin app to manage BTC, or the Ethereum app for ETH and ERC-20 tokens.
Step 7: Add Accounts
After installing apps, add the respective accounts in Ledger Live. This process syncs your wallet's public addresses and allows Ledger Live to display your balances and transactions.
Using Ledger Live: Managing Your Cryptocurrencies
Checking Portfolio Overview
The dashboard provides a real-time overview of your portfolio value, recent transactions, and asset allocation. You can customize this view to focus on your favorite cryptocurrencies.
Sending Cryptocurrency
- Select the account from which you want to send funds.
- Click “Send” and enter the recipient’s wallet address and the amount.
- Review transaction details carefully.
- Confirm the transaction on your Ledger device by physically pressing buttons to sign.
Receiving Cryptocurrency
- Select the account where you want to receive funds.
- Click “Receive” and verify the displayed wallet address on your Ledger device screen.
- Share the address safely with the sender. Never share a QR code or address from untrusted sources.
Buying and Swapping Assets
Ledger Live integrates with trusted partners such as MoonPay, Coinify, and Changelly to allow you to buy cryptocurrencies with credit/debit cards and swap tokens without leaving the app. Fees and exchange rates vary based on providers.
Staking Your Cryptocurrencies
Earn rewards by staking supported assets such as Ethereum 2.0, Polkadot, or Tezos directly from Ledger Live. You can delegate your tokens to validators and track your rewards conveniently.
Ledger Live Security Best Practices
- Keep Your Recovery Phrase Offline: Store your recovery phrase in a safe, physical location away from digital threats.
- Update Firmware Regularly: Ledger frequently releases updates improving security and compatibility. Always keep your device and Ledger Live updated.
- Verify Transactions On Device: Never approve transactions without checking all details physically on your hardware wallet.
- Beware of Phishing: Access Ledger Live only through official channels and never disclose your recovery phrase.
- Use Strong PINs: Choose a non-obvious PIN and avoid reuse across devices.
Common Troubleshooting Tips
Ledger Device Not Recognized
Try different USB cables or ports. Restart Ledger Live and your device. Check for driver updates on your OS.
PIN Locked After Multiple Attempts
If you enter the wrong PIN three times, the device resets to factory settings. Restore your wallet using the recovery phrase.
App Crashes or Sync Issues
Ensure your Ledger Live is updated. Clear the cache or reinstall if persistent. Check internet connectivity and firewall settings.
Ledger Live Mobile App
The Ledger Live mobile app brings all desktop features to your phone with added convenience and Bluetooth connectivity for the Nano X device. It offers push notifications, portfolio tracking on the go, and the ability to send/receive crypto securely anytime, anywhere.
Final Thoughts: Start Your Crypto Journey with Confidence
Ledger Live simplifies the complexities of crypto asset management while ensuring security that is unmatched by most other solutions. By leveraging a hardware wallet paired with Ledger Live’s intuitive interface, you are empowered to take full ownership of your digital assets.
Getting started is easy, but the security you gain is invaluable. Follow the best practices, keep your recovery phrase secure, and enjoy seamless access to the future of finance.
Ready to dive in? Download Ledger Live today, connect your Ledger device, and take control of your crypto portfolio with peace of mind.
Disclaimer: This article is for educational purposes only. Always use official Ledger resources and verify your security steps independently.